
Duotone Photography
- The Magazine For Photographers

- Nov 18, 2025
- 2 min read
What is duotone photography?
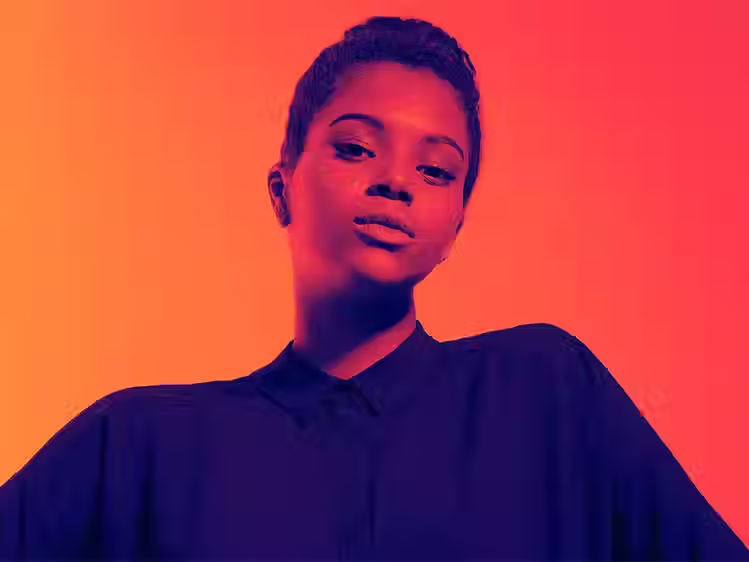
Duotone is just what it sounds like, a photo that uses two tones/colours, typically one for the highlights and one for the shadows. It strips away the full-colour spectrum and replaces it with a simplified, stylised colour combo. In general you can use duotone photography with any scene and subject, however the most popular use cases are portraits, posters, album covers etc.
How to create a duotone image
Technically, you can just shoot a regular image and apply the duotone effect afterwards in editing. It doesn’t require a specific lens, camera settings, or lighting setup, you just need a good photo with strong contrast and structure (that is pretty important).
Step 1: Start with a strong black & white base
Pick a photo with interesting contrast, shapes, textures. Portraits as mentioned work great (architectural shots and silhouettes work nicely as well). Convert it to black and white before doing anything else.
Step 2: Pick your two colours
You usually want one darker tone for shadows and one brighter tone for highlights. Again you can technically choose any two colours, but here are some classic combos, that are proven to work:
Navy & cyan
Purple & orange
Teal & red
Black & neon green
→ You can do subtle or high-contrast depending on the vibe/look you want.
Step 3: Apply the duotone effect
Want to read more?
Subscribe to themagazineforphotographers.com to keep reading this exclusive post.


